This article will cover implementing a basic HTTP server on top of LwIP for ESP8266 and dive into the implementation of WebSockets.
Preface
ESP8266 is an extremely popular device. Chances are, at some point you even bought a few modules for some “future project”. That’s exactly what I did, and for a long time I didn’t find any application for this device.
Contents:
- The Hardware
- Simple HTTP server
- WebSockets
– Opening handshake
– Transmitting data
– Closing connection - Demo
The Hardware
At first glance, ESP8266 looks quite attractive: 32-bit processor, decent amount of RAM, up to 4MB external flash for user code. But once you dive into the specifics of the device, you immediately start facing it’s problems: the documentation is rather scarce, power consumption is about 80mA during normal operation, which is a problem for battery-powered applications, and even though you can have a large external flash, the ESP8266 can only map 1 megabyte of it into execution space. The rest of the flash may be used for firmware updates and data storage. Overall, the device itself does not instill a lot of confidence. But hey.. it’s cheap.

To get the module up and running we need a 3V3 supply rail and a UART-USB converter for programming. Apart from Rx/Tx the following lines need to be connected from the serial cable to the module:
RTS -> ResetDTR -> Boot/GPIO03V3 -> CH_PD
ESP-12E modules already have a pull-up resistor on reset line. Optionally, a pull-up should be installed on GPIO0.
As for the software, there are two versions of SDK from Espressif - one of them is based on FreeRTOS and the other one is based on callbacks. It seems that most development occurs around the non-RTOS version of SDK. At the moment of writing this post, the latest FreeRTOS version provided by Espressif SDK seems to be 7.5.2, while the latest upstream version is 9.0.0. Luckily, esp-open-rtos addresses this issue. It is a community-developed framework based on the latest version of FreeRTOS, which aims to provide open-source alternatives to the binary blobs of the Espressif SDK.
Simple HTTP server
To get a better understanding of how things work, let’s implement the most basic HTTP server. First we need to create a new task called httpd_task.
1 | xTaskCreate(&httpd_task, "http_server", 1024, NULL, 2, NULL); |
We are going to use LwIP’s netconn API for our demo, <lwip/api.h> needs to be included.
1 | void httpd_task(void *pvParameters) |
The code is pretty straight-forward: we create a new netconn, bind it to port 80 (which is used for HTTP) and start listening for incoming TCP connections. In the main loop of the task we call a blocking function netconn_accept(). Once the connection from client is accepted we log the request to console and generate a response. Response contains a minimal header that is enough for the browser to treat anything after \r\n\r\n as an HTML page.

When browser requests a page it sends a GET request, which looks like this:
1 | GET / HTTP/1.1 |
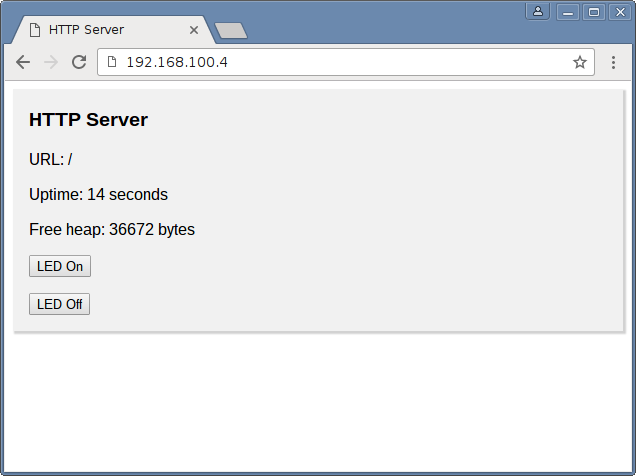
We’re only interested in the first line that contains the URI. To make things a bit more interesting we are going to extract the URI and switch the LED on the device when particular address is requested. We’ll also add some page content just for kicks.
1 | void httpd_task(void *pvParameters) |
Now we have a slightly more interactive server.

In case your application needs to serve a simple web-page, this approach might just be good enough.
Although implementing an HTTP server from scratch could be a good exercise, I didn’t find it very exciting, so instead of reinventing the wheel I decided to find one that is round enough for my needs.
For my application I decided to use httpd from LwIP/contrib. This server is based on callbacks, so it should work with RTOS and non-RTOS SDK.
WebSockets
WebSocket is a protocol which allows full-duplex communication between client (like web-browser) and server. This means that we can send small messages back and forth for doing things like toggling pins and reading sensor data without having to refresh the web-page and transfer large amounts of HTTP data all the time. We’ll have to resort to HTTP only once for the opening handshake, after that all the communication is happening on the TCP layer. Everything we need to know in order to implement WebSocket protocol is described in RFC 6455.
Opening handshake
Probably the hardest part. When client wants to open a WebSocket it sends a specific GET request:
1 | GET / HTTP/1.1 |
The server should generate the following response:
1 | HTTP/1.1 101 Switching Protocols |
The procedure to generate Sec-WebSocket-Accept part is as follows:
- Take the
Sec-WebSocket-Keypart - Concatenate it with GUID which is “258EAFA5-E914-47DA-95CA-C5AB0DC85B11”
- Calculate SHA-1 hash of the resulting string
- Encode the hash in base-64
Let’s first define some necessary constants inside httpd.c.
1 | const char WS_HEADER[] = "Upgrade: websocket\r\n"; |
According to the HTTP specification, comparison of fields like WS_HEADER should be case-insensitive. Despite that, we’ll use standard strnstr() function, since most browsers follow the convention and generate requests as defined above.
We’ll need to alter http_parse_request() function to support opening handshake. In this context data is the incoming TCP buffer.
1 | if (strnstr(data, WS_HEADER, data_len)) { |
Note: I’m using sizeof(buf) quite often to get the array length at compile-time. In this case it works as expected due to the fact that buf is always of char type. A more proper solution is to use sizeof(buf)/sizeof(buf[0]) - this way we get the correct result regardless of the data type.
Transmitting data
On the client side opening a new WebSocket and listening for incoming messages is just a matter of few lines of javascript:
1 | /* Open new websocket and register callback */ |
When server receives data from a client the payload is always masked (assuming that client’s implementation of the protocol is correct), therefore, we need to unmask the payload before passing it to the user callback. Masking algorithm is rather trivial.
The first byte of the payload contains an opcode. We’re only going to support text or binary modes and close request. We shall omit continuation frames to keep things simple.
1 | static err_t websocket_parse(struct tcp_pcb *pcb, struct pbuf *p) |
When server sends data to the client it is always unmasked. Our implementation won’t support packets larger than 125 bytes for simplicity.
1 | void websocket_write(struct tcp_pcb *pcb, const uint8_t *data, uint16_t len, uint8_t mode) |
Closing connection
Simply closing a TCP connection is an option, but it’s considered to be an unclean shutdown. When one side wants to close a websocket, it sends a packet which contains a reason for closing the connection. The other side then echoes this packet back and the connection is considered closed afterwards. Our implementation shall always close the connection with status code 1000 (normal closure).
1 | static err_t websocket_close(struct tcp_pcb *pcb) |
Demo
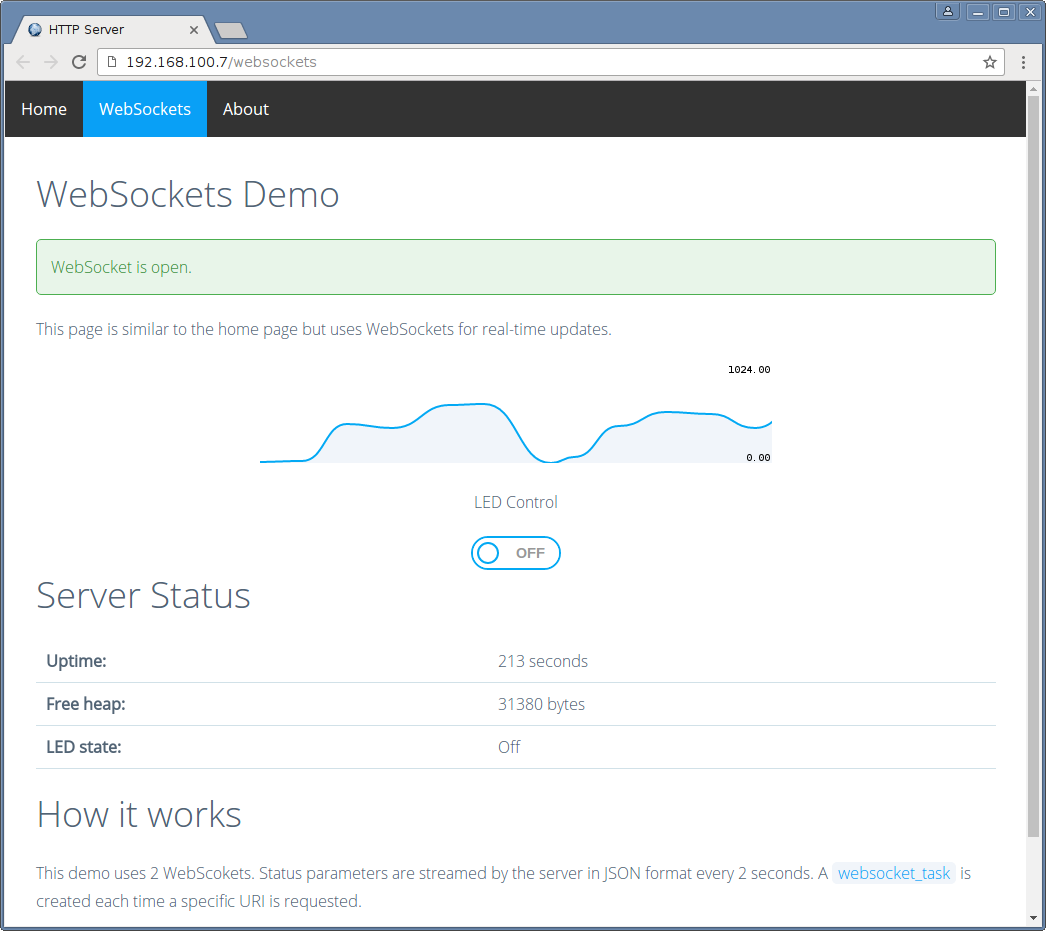
I created a small project to demonstrate basic functionality. In this demo two sockets are used: one for polling by the client, and second one for streaming data from server.

Code is available on github.